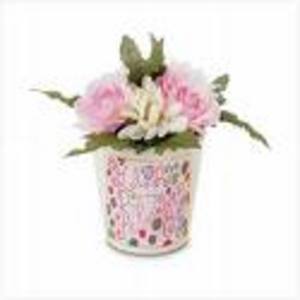
This is an arts and craft activity that I did recently with my grand daughter. Having been a room Mother years ago, I did this with the children in my sons’ class for a Mother’s Day project. You can do this with your child or grandchild any day, but it makes an especially nice gift for the women in the child’s life.
This nice thing about this activity, it not only allows your child to be creative, but it allows them to practice fine motor skills such as pinching and using scissors. As a teacher, I would recommend this strongly for practice to those school readiness skills. Most schools expect a child to enter pre k or kindergarten already knowing how to use pencils and scissors.
Items You Will Need
– Tissue paper in different colors. Or you can go with a particular color theme. We went with pink and white, almost like the picture attached to this article.
– Scissors. Depending on the age of the child, I would purchase a child’s safety scissor.
– White glue for paste.
– 2 paper plates. Just a regular one without the sections.
– Glass soda or mile bottle. I purchased clay flower pots from my local arts and craft store.
– 2 paintbrushes. Purchase the ones at least one to one and a half inches, so you will have a paint brush that is large enough.
– A couple of wet washcloths or baby wipes to clean up any excess glue or the child’s hands.
How to Make the Flower Pot and Vase
1. The child or parent will need to tear or cut the tissue paper into very small pieces. The shape doesn’t matter, as some of the pieces will be glued basically over each other. Just remember to make them small.
2. The first paper plate is for the glue if you use the regular kind of glue. The child will be dipping the paintbrush into the paper plate The next step is to pain the glue of the bottle or flower pot.
3. Have the child gently lay the tissue paper plates onto the gluey surface on either the bottle or the flower pot. Once they are laid, that is probably it. There will be no rearranging, Remind the child it isn’t about perfection, but about being creative and doing something nice for someone else.
4. Tell the child to keep layering the bottle or flower pot until it is completely covered in tissue paper. it looks best if the pieces overlap to cover all space on the flower pot.
5. Let the flower pot or bottle dry overnight. There is one more step, so the child is not finished making their gift.
6. The last step is to paint the entire surface of the bottle or flower pot with a second layer of glue to finish it, and set it and make sure the tissue paper does not fall off. You will need the second paper plate and second paintbrush for this finishing touch to the project.
This is a nice summer activity to do with your child while they are home. I would suggest any room Mothers remember this also next time Mother’s Day comes around and you are asked to help with arts and crafts.
Reference:
- Experience as a room Mother at my child’s school
