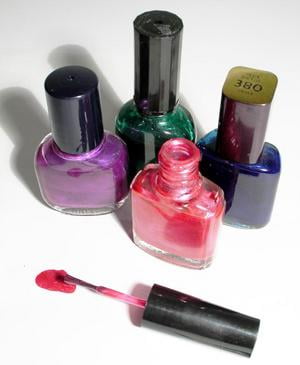
Paying someone else to do my nails just isn’t in my budget. I’ve never had the luxury of being able to afford to spend $25 – $50 each week simply to have someone make my nails look pretty. But you know what? Even if I had that extra cash, I wouldn’t spend it at the nail salon…sometimes women come out of those places with scary-looking talons instead of beautiful fingernails! Besides, I can do my own manicure at home, and it will look great-and now, so can you, if you follow the steps listed below.
Step 1: Cuticles
The first thing to remember is to never cut your cuticles-this can lead to infections and to hangnails, neither of which will make your manicure look pretty. Instead, apply a little bit of cuticle cream, oil, or just plain-old hand lotion over your cuticles and push them back gently. You can push them back with an orange stick wrapped in a bit of cotton (one of those little wooden sticks with the slanted end) or with the cuticle pusher from a manicure kit.
Step 2: Trim and file
Trim your nails first (if necessary) with a pair of nail clippers or nail scissors. Then gently file the edges until they are smooth, taking care to file only in one direction-filing like a saw, back and forth, may cause them to split and crack. File your nails into a shape that mirrors the shape of your cuticles-slightly rounded is usually best.
Step 3: Buff
Some women skip this step, but I find that buffing the nails smooth makes polish adhere better. You can find buffers at any drugstore near the other nail implements. Simply buff the tops of the nails until they are smooth and shiny.
Step 4: Wash and dry
Use a mild soap to wash your hands, paying special attention to your nails. Be sure to clean the undersides of the nails–you can use a nail brush if you want. Dry your hands and nails completely before proceeding to the next step.
Step 5: Base coat
Applying a base coat should not be skipped because they protect your nails and they also give the polish a better surface to stick to, which helps your manicure last longer. I suggest applying two coats of the base coat (letting the first dry completely before applying the second)-this will give you the perfect surface for your color.
Step 6: Nail color
Apply a very thin coat of your nail color over the base coat, and then after it dries completely, apply a second thin coat of color. Why the thin coats? Why not just apply one thicker coat? Thin coats are less likely to bubble and streak, and they cover the nail just as well.
Step 7: Quick dry
After your second coat of color has set on your nails for about a minute, begin applying a quick dry polish. These products are designed to help your polish dry much faster, so they are well worth using. My personal favorite is Poof! My Nails Are Dry!, which can be found at www.ulta.com.
See how easy that was? Only seven steps and you have a beautiful manicure without spending big bucks. Sure, if you haven’t had much practice in doing your own nails you probably have some polish on your fingers, but this will come off with a cotton swab dipped in a tiny amount of polish remover.
Now, how can you maintain your manicure so that it lasts? Simple-just apply a thin layer of color and a top coat on your nails every other day, as needed. If you have a nail that gets chipped, all you have to do is apply a tiny bit of nail color over the chip and let it dry. After it dries, apply a thin coat of color over the entire nail and then a top coat over the nail.
Just think-for the price of one salon manicure, you can go to the store and buy everything you need to take care of your nails, if you don’t already have the necessary tools. After that, all a manicure will costs you is a little bit of time. And now that you know how to do a quality manicure, you can switch your nail color whenever you like, without having to wait until your budget will allow it. Have fun with it and try out a lot of different nail colors-the choices are nearly limitless. Besides, don’t you deserve to pamper yourself a little sometimes?
